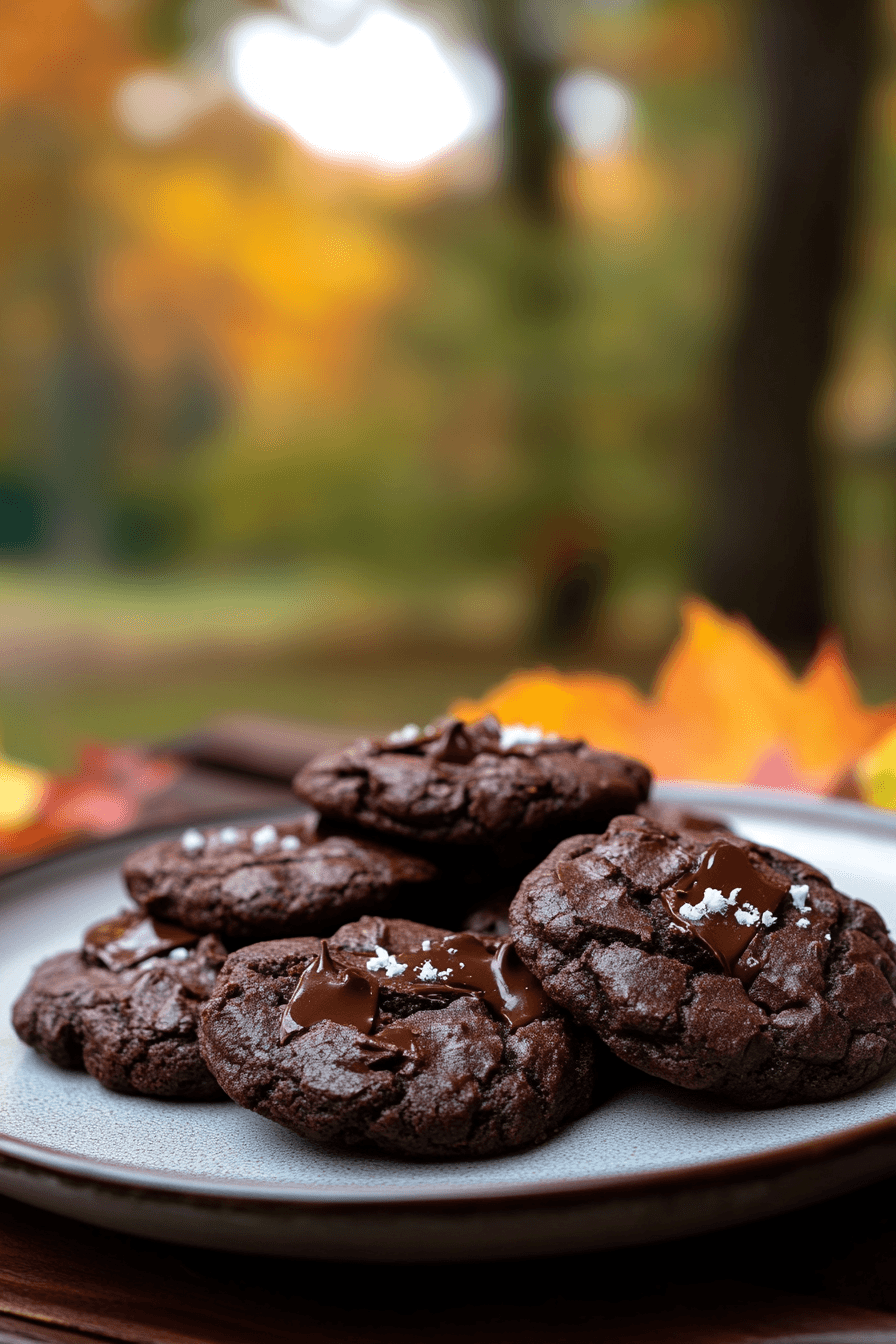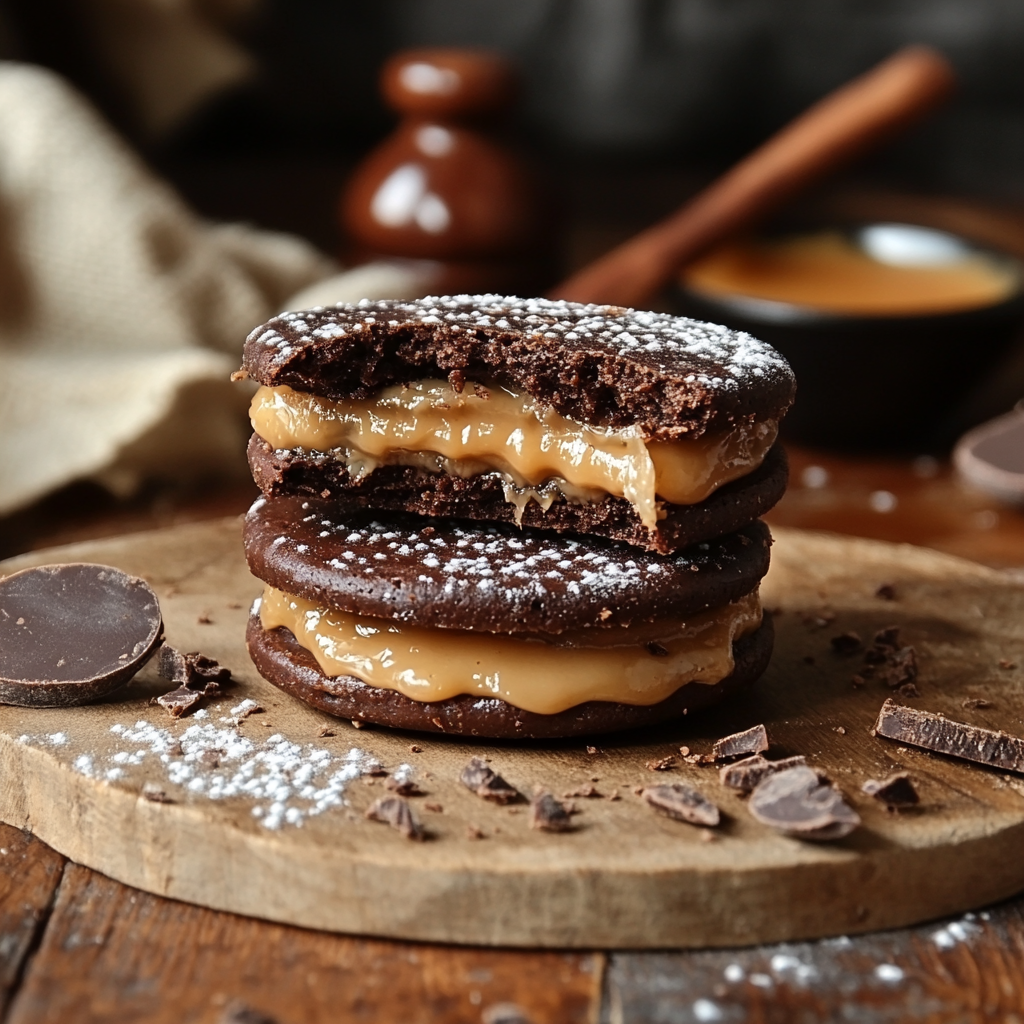
Serbian orange chocolate cookies are a delightful treat that combines the zestiness of citrus flavors with the richness of chocolate, creating a perfect balance for any dessert table. These cookies are often made during festive seasons but are an all-year-round favorite for many Serbian households. In this article, we’ll explore how to prepare these cookies step-by-step, their cultural significance, and some helpful tips to make them even more delicious.
Why Serbian Orange Chocolate Cookies Are Special
Serbian cuisine emphasizes homemade desserts with deep, rich flavors. These cookies often stand out due to their unique combination of tangy orange zest and smooth chocolate. The use of simple yet high-quality ingredients makes them incredibly flavorful.
- Perfect for festive occasions like Christmas or Slava.
- They represent a blend of traditional European pastry techniques with local flavors.
- Often paired with Serbian coffee or rakija (a fruit brandy) during celebrations.
Let’s dive into the recipe and some preparation tips!
Ingredients You’ll Need
Here’s a list of what you’ll need to make authentic orange chocolate cookies the Serbian way:
For the Cookie Dough
- 200g (1 cup) of unsalted butter (room temperature)
- 150g (3/4 cup) of sugar
- 1 egg yolk
- 250g (2 cups) of all-purpose flour
- 50g (1/2 cup) of cocoa powder
- 1 teaspoon of baking powder
- Zest of 2 medium oranges
- Pinch of salt
- 1 teaspoon of vanilla extract
For the Chocolate Glaze
- 150g (5 oz) of dark chocolate (minimum 70% cocoa)
- 2 tablespoons of butter
- Optional: 1 tablespoon of orange juice (for added flavor)
Step-by-Step Recipe
1. Prepare the Dough
- In a mixing bowl, cream the butter and sugar until light and fluffy.
- Add the egg yolk, orange zest, and vanilla extract. Mix until smooth.
- In a separate bowl, sift together the flour, cocoa powder, baking powder, and a pinch of salt.
- Gradually incorporate the dry ingredients into the wet mixture. Mix until a soft dough forms.
- Wrap the dough in plastic wrap and refrigerate for at least 30 minutes. This helps the dough firm up for easier shaping.
2. Shape the Cookies
- Preheat your oven to 180°C (350°F) and line a baking tray with parchment paper.
- Roll out the dough on a lightly floured surface to about 0.5 cm (1/4 inch) thickness.
- Use a cookie cutter to create your desired shapes. Traditional shapes include circles or crescent moons.
- Place the cookies on the baking tray, leaving a little space between each one.
3. Bake
- Bake the cookies for 8–10 minutes. Keep an eye on them to ensure they don’t overbake.
- Allow the cookies to cool completely on a wire rack before glazing.
4. Add the Chocolate Glaze
- Melt the dark chocolate and butter in a heatproof bowl over a pot of simmering water (double boiler method).
- Stir until the mixture is smooth and glossy. Add the optional orange juice for an extra citrus kick.
- Dip the tops of the cookies into the chocolate glaze or drizzle it over them for a decorative look.
- Let the glaze set completely before serving. You can speed up the process by refrigerating the cookies for 10–15 minutes.
Advanced Techniques for Perfect Cookies

1. Infuse the Dough
For an extra boost of flavor, consider infusing your dough with orange or chocolate extracts. Here’s how:
- Add 1 teaspoon of orange extract alongside the orange zest.
- Alternatively, use chocolate essence for a more pronounced chocolate flavor.
This step will ensure the flavor remains prominent even after baking.
2. Double Chocolate Upgrade
Turn these cookies into double chocolate treats:
- Mix mini chocolate chips into the dough for bursts of chocolate in every bite.
- Alternatively, add chunks of white chocolate for a contrasting sweetness.
3. Marbled Glaze
Create a stunning marbled effect for the glaze by swirling white chocolate into the dark chocolate. Follow these steps:
- Melt both types of chocolate separately.
- Pour the dark chocolate over the cookies, then drizzle the white chocolate on top.
- Use a toothpick to create swirls before the glaze sets.
Delicious Variations
1. Nutty Delight
Adding chopped nuts is a classic Serbian twist. Walnuts, hazelnuts, or almonds complement the rich chocolate glaze perfectly. For added crunch:
- Toast the nuts lightly before mixing them into the dough.
2. Spiced Orange Cookies
Add a touch of warmth with spices:
- A pinch of cinnamon or cardamom pairs beautifully with the orange zest.
- Ground cloves or nutmeg can add a holiday-inspired depth to the cookies.
3. Citrus Explosion
Amplify the citrus flavors:
- Combine orange zest with lemon or lime zest for a tangier taste.
- You can also drizzle the cookies with a citrus syrup made from orange juice and sugar for added moisture.
4. Vegan Serbian Cookies
Make a vegan version of these cookies without compromising flavor:
- Replace butter with vegan margarine or coconut oil.
- Use aquafaba (the liquid from canned chickpeas) as an egg substitute.
- Ensure the chocolate glaze is dairy-free.
Perfect Pairings for Orange Chocolate Cookies
Elevate the enjoyment of these cookies by pairing them with complementary beverages and accompaniments:
1. Serbian Coffee (Kafa)
The robust, slightly bitter flavor of traditional kafa balances the sweetness of the cookies. Learn how to make Serbian coffee:
- Boil water in a džezva (small coffee pot).
- Add finely ground coffee and stir briefly.
- Let it foam up before serving in small cups.
2. Rakija
For a more festive pairing, try rakija, Serbia’s beloved fruit brandy. Plum (šljivovica) or apricot (kajsijevača) rakija pairs wonderfully with the citrus and chocolate flavors.
3. Tea Pairings
Light herbal teas like chamomile or mint complement the cookies’ citrusy sweetness. For a bold contrast, try black tea with orange peel.
Presentation Ideas
Presentation plays a big role in Serbian celebrations, where desserts are as much about visual appeal as they are about taste. Here are some creative ways to serve your orange chocolate cookies:
1. Cookie Towers
Stack cookies in a pyramid shape on a decorative platter, dusting them with powdered sugar for a snowy effect.
2. Decorative Packaging
Wrap the cookies in colorful cellophane or place them in decorative tins. These make excellent gifts during holidays.
3. Serve with Garnishes
Sprinkle grated orange zest or chocolate shavings over the cookies before serving to enhance their visual and flavor appeal.
Pro Tips for Consistent Results
1. Temperature Matters
Ensure all ingredients are at room temperature before mixing. This helps the dough come together smoothly.
2. Avoid Overmixing
Overworking the dough can make the cookies dense. Mix only until the ingredients are just combined.
3. Monitor Baking Time
Keep an eye on the cookies while baking to avoid drying them out. Remove them from the oven as soon as the edges are firm but the centers are slightly soft.
4. Use Quality Ingredients
- High-quality butter and chocolate make a noticeable difference in flavor.
- Opt for organic oranges for the zest to avoid pesticides.
FAQs – Advanced Edition
1. Can I make the cookies thinner or thicker?
Yes, but adjust the baking time accordingly. Thinner cookies will bake faster, while thicker cookies may need a few extra minutes.
2. How can I ensure the glaze stays shiny?
Adding a small amount of butter or oil to the melted chocolate creates a glossy finish.
3. What’s the best way to store glazed cookies?
Store them in a single layer or use wax paper between layers to prevent sticking.
4. Can I use pre-made orange zest?
Fresh orange zest is highly recommended for better flavor, but dried zest can be used in a pinch.
5. What’s the best way to transport these cookies?
Place them in a sturdy tin or airtight container with parchment paper between layers.
6. Are there any low-sugar options?
Yes, you can reduce the sugar in the dough and use unsweetened chocolate for the glaze.
7. Can I make these cookies gluten-free?
Yes, use a gluten-free flour blend designed for baking.
8. How do I prevent the chocolate from seizing?
Melt the chocolate slowly over low heat and avoid getting any water into it.
9. Can I freeze the finished cookies?
Yes, freeze them in a single layer, then transfer to an airtight container.
10. What’s the shelf life of these cookies?
Unfrosted cookies last up to 2 weeks in an airtight container, while glazed cookies are best consumed within 5–7 days.
