Table of contents
Smoking meat, vegetables, and other delicacies is a popular method for infusing food with deep, smoky flavors. If you’ve been exploring innovative smoking methods, the shotgun smoker might be the perfect project for you. This guide will explain what a shotgun smoker is, how to build one, and why it’s an excellent choice for smoking enthusiasts.
What Is a Shotgun Smoker?
A shotgun smoker is a DIY smoking device designed for compactness and efficiency. Unlike traditional smokers, this setup focuses on simplicity and ease of use, making it a popular choice for home projects. It gets its name from its cylindrical structure, often resembling a shotgun barrel, though there’s no direct connection to firearms.
This type of smoker is ideal for those who want:
- Portability: Small enough for outdoor events or backyard gatherings.
- Cost-Effectiveness: Created with inexpensive, easily accessible materials.
- Flavor: Allows for deep, rich smoking flavors without the bulk of traditional smokers.
Materials Needed to Build a Shotgun Smoker
Creating a shotgun smoker doesn’t require advanced tools or expensive equipment. Most materials can be found at a local hardware store.
Here’s a quick checklist:
- Metal pipe or barrel (3–4 feet in length): This will form the primary structure of the smoker.
- Metal grates: To hold the food.
- Drill and metal bits: For creating air intake and exhaust holes.
- Charcoal basket or tray: Used for holding the fuel source.
- Thermometer: To monitor internal temperature.
- Heat-resistant sealant: Ensures smoke doesn’t escape through seams.
- Paint (optional): For a polished, heat-resistant finish.
- Fireproof insulation: Ensures temperature regulation.
When choosing materials, opt for high-temperature-resistant metals. For instance, a steel pipe is an excellent choice because it conducts heat efficiently and maintains structural integrity under high temperatures.
Step-by-Step Guide to Building a Shotgun Smoker
1. Prepare the Pipe
- Start with a steel or aluminum pipe.
- Cut the pipe to your desired height—typically between 2–4 feet.
- Drill holes at the bottom for air intake and at the top for smoke exhaust. These holes should be evenly spaced for consistent airflow.
2. Install the Charcoal Tray
- Place a metal grate or tray near the bottom of the pipe to hold your charcoal.
- Ensure this area has sufficient ventilation to keep the charcoal burning steadily.
3. Create the Cooking Area
- Add another grate higher up in the pipe to serve as the cooking surface.
- This grate should be securely fixed to support the weight of food.
4. Seal the Smoker
- Apply heat-resistant sealant to all seams and joints. This ensures no smoke escapes, maintaining optimal smoking conditions inside the pipe.
5. Add a Thermometer
- Drill a hole and attach a thermometer to the middle of the pipe. Monitoring the internal temperature ensures your food is smoked to perfection.
6. Paint and Finish (Optional)
- Use heat-resistant paint to give the smoker a polished look. This step isn’t necessary for functionality but adds aesthetic value.
How to Use a Shotgun Smoker
Now that you’ve built your smoker, it’s time to put it to use! Here’s how:
- Preheat the Smoker
- Add charcoal or wood chips to the tray and light it.
- Allow the smoker to preheat until the thermometer reads your desired temperature (typically 225–250°F for most smoking recipes).
- Prepare the Food
- Season your meat, vegetables, or other foods with your favorite rubs and marinades.
- Place them on the cooking grate inside the smoker.
- Monitor the Smoke
- Keep an eye on the temperature and airflow. Adjust the intake and exhaust holes to regulate heat and smoke intensity.
- Add more charcoal or wood chips as needed to maintain a steady temperature.
- Smoking Time
- Smoking can take several hours, depending on the food. For instance:
- Brisket: 10–12 hours.
- Ribs: 5–6 hours.
- Vegetables: 1–2 hours.
- Smoking can take several hours, depending on the food. For instance:
Advantages of a Shotgun Smoker
Using a shotgun smoker has several key benefits:
- Compact Design: Perfect for smaller spaces and easy to transport.
- Customizable: You can tweak the design based on your smoking preferences.
- Cost-Effective: Building your smoker is far cheaper than buying a commercial model.
- Flavor Control: Allows for precise control over smoke intensity and temperature.
Maintenance Tips
To keep your shotgun smoker in top condition:
- Clean the grates after each use to prevent residue buildup.
- Empty the ash tray regularly to maintain airflow.
- Check for rust or damage, especially around the air intake holes and seams.
Advanced Customization, Recipes, and Troubleshooting for Your Shotgun Smoker
Now that you’ve built and learned the basics of using a shotgun smoker, let’s dive into advanced tips to elevate your smoking game. In this part, we’ll cover customization ideas, mouthwatering recipes, and common issues you might encounter with solutions to troubleshoot them effectively.
Advanced Customization for Your Shotgun Smoker
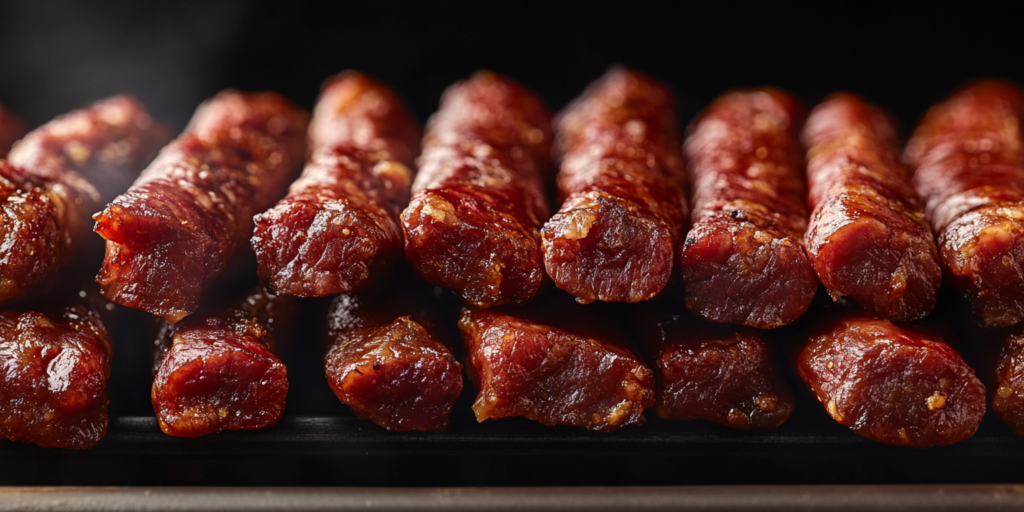
A basic shotgun smoker works great, but with a few modifications, you can enhance its functionality and efficiency. Here are some ideas to make your smoker truly stand out:
1. Adjustable Airflow System
- Upgrade your smoker with adjustable dampers on the intake and exhaust holes.
- Dampers give you precise control over heat and smoke levels, ensuring your food cooks evenly.
- Use a slider mechanism or screw caps for easy adjustments.
2. Additional Grates
- Add a second or third cooking grate to increase capacity.
- This is especially useful for smoking multiple items like ribs, briskets, or vegetables simultaneously.
3. Wood Chip Compartment
- Install a dedicated wood chip drawer or container near the charcoal tray.
- This allows you to replenish wood chips without opening the smoker, minimizing heat loss.
4. Insulation Upgrade
- Wrap the exterior of your smoker with fireproof insulation material to improve heat retention.
- This customization is particularly useful in cold weather or windy conditions.
5. Built-in Timer and Thermostat
- Add a digital thermostat with a timer to automate temperature monitoring.
- These tools make smoking hassle-free, especially for recipes requiring long cook times.
6. Portability Features
- Attach wheels or handles to make your smoker easier to move.
- Compact and portable smokers are great for camping trips or backyard barbecues.
7. Custom Paint and Design
- Finish your smoker with a heat-resistant paint in your preferred color.
- Add personal touches, like logos or stencils, for a unique, customized appearance.
Mouthwatering Recipes for Your Shotgun Smoker
1. Classic Smoked Brisket
- Ingredients:
- 8–10 lb beef brisket.
- Your favorite dry rub (salt, pepper, garlic powder, paprika).
- Instructions:
- Preheat your smoker to 225°F.
- Apply the dry rub generously to the brisket.
- Place the brisket on the cooking grate, fat side up.
- Smoke for 10–12 hours, adding wood chips (oak or hickory) every 2 hours.
- Wrap the brisket in aluminum foil during the last 2–3 hours to retain moisture.
- Let it rest for 30 minutes before slicing.
2. Smoked Ribs
- Ingredients:
- 2 racks of pork ribs.
- Barbecue sauce, dry rub.
- Instructions:
- Remove the membrane from the ribs and apply the dry rub.
- Preheat the smoker to 250°F.
- Smoke the ribs for 5–6 hours using applewood chips.
- During the last hour, brush the ribs with barbecue sauce for a caramelized finish.
3. Smoked Vegetables
- Ingredients:
- Assorted vegetables (zucchini, bell peppers, mushrooms, onions).
- Olive oil, salt, pepper, garlic powder.
- Instructions:
- Toss the vegetables in olive oil and seasonings.
- Place them on a grill tray or skewer.
- Smoke at 225°F for 1–2 hours using cherry wood for a mild, sweet flavor.
4. Smoked Cheese
- Ingredients:
- Blocks of cheddar, gouda, or mozzarella.
- Instructions:
- Use the cold-smoking method (maintain a temperature below 90°F).
- Smoke for 2–3 hours using mild wood like apple or pecan.
- Let the cheese rest in the refrigerator for a week to develop flavor.
Common Issues and Troubleshooting Your Shotgun Smoker
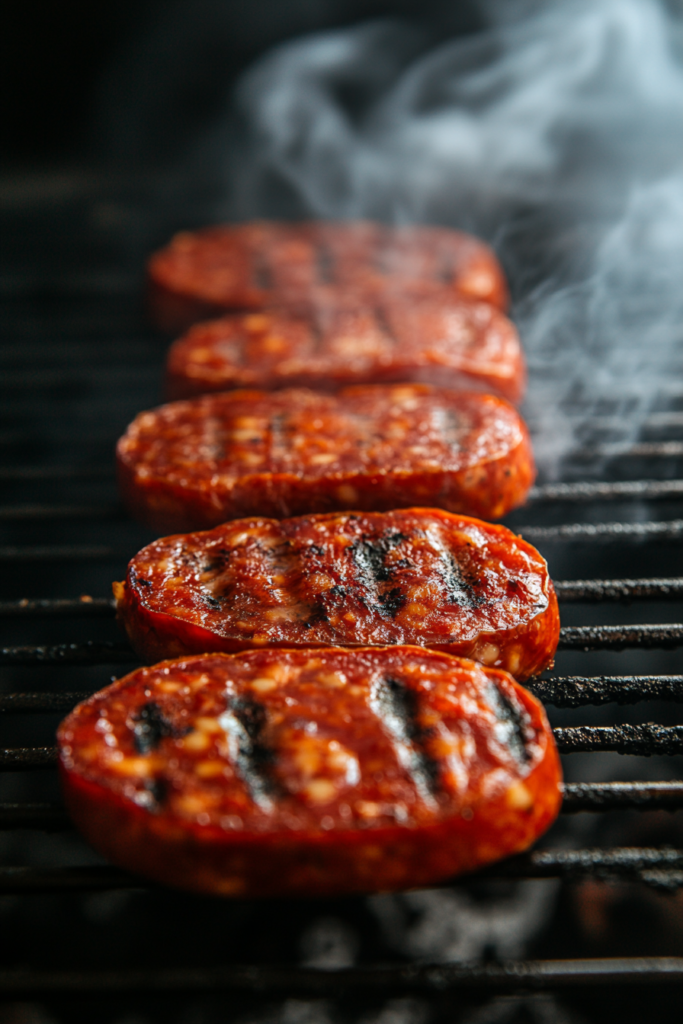
Even with a well-built smoker, problems can arise. Here’s how to address some of the most common issues:
1. Heat Fluctuations
- Problem: The smoker’s temperature keeps rising or dropping unexpectedly.
- Solution:
- Check the air intake and exhaust holes; adjust dampers to control airflow.
- Ensure the smoker is sealed properly; leaks can cause heat loss.
- Use a high-quality thermometer for accurate readings.
2. Uneven Cooking
- Problem: Some areas of the food are overcooked while others are undercooked.
- Solution:
- Rotate the food periodically to ensure even exposure to heat and smoke.
- Add a baffle or diffuser plate between the charcoal tray and cooking grate to distribute heat evenly.
3. Insufficient Smoke Flavor
- Problem: The food lacks a rich, smoky taste.
- Solution:
- Use high-quality wood chips or chunks suitable for your recipe (e.g., hickory for pork, cherry for chicken).
- Avoid overloading the smoker with food; overcrowding can limit smoke circulation.
4. Ash Build-up
- Problem: Excess ash restricts airflow and affects combustion.
- Solution:
- Empty the ash tray regularly during long smoking sessions.
- Use lump charcoal instead of briquettes, as it produces less ash.
5. Smoke Leakage
- Problem: Smoke escapes from unintended areas, reducing efficiency.
- Solution:
- Reapply heat-resistant sealant to any gaps or cracks in the smoker.
- Check the door or lid for a tight seal; add weather-stripping if needed.
6. Charcoal Burns Too Quickly
- Problem: The fuel doesn’t last long enough, requiring frequent refills.
- Solution:
- Use high-quality lump charcoal for longer burn times.
- Control airflow to slow down the rate of combustion.
Expert Tips for Successful Smoking
- Always preheat your smoker before adding food to ensure consistent cooking temperatures.
- Soak wood chips in water for 30 minutes before use; this creates more smoke and enhances flavor.
- Keep a water pan inside the smoker to maintain humidity and prevent food from drying out.
- Don’t open the smoker frequently; every time you open the lid, heat escapes, prolonging the cooking time.
Advanced Smoking Techniques, Creative Recipes, and FAQs
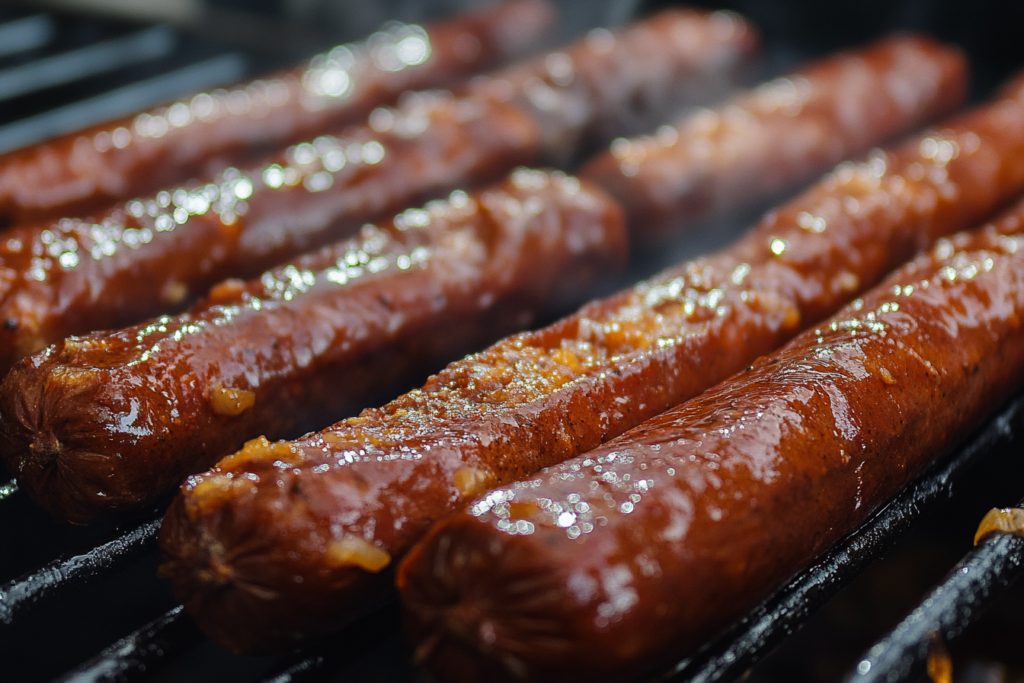
In Part 3, we’ll explore advanced techniques to elevate your shotgun smoker skills, share creative recipes to impress your guests, and answer frequently asked questions to address any lingering doubts. Let’s continue your journey into the world of DIY smoking mastery!
Advanced Smoking Techniques
1. Reverse Sear Technique
- This method is perfect for achieving both a smoky flavor and a crisp, caramelized crust on meats like steaks or roasts.
- Steps:
- Smoke the meat at a low temperature (225°F) until it’s slightly below your target internal temperature (e.g., 120°F for medium-rare).
- Remove the meat and let it rest briefly.
- Finish by searing the meat over high heat (500°F) for 1–2 minutes per side, locking in juices and enhancing flavor.
2. Cold Smoking
- Cold smoking is ideal for delicate foods like cheese, nuts, and fish.
- Maintain the smoker temperature below 90°F by using a separate smoke generator or limiting charcoal.
- Experiment with woods like alder or pecan for subtle, nuanced flavors.
3. Brining Before Smoking
- Brining adds moisture and enhances flavor, especially for lean meats like turkey, chicken, or pork loin.
- Basic Brine Recipe:
- 1 gallon water.
- 1/2 cup salt.
- 1/2 cup sugar.
- Optional spices: garlic, thyme, bay leaves.
- Submerge the meat in the brine for several hours before smoking.
4. Rotisserie Smoking
- Add a rotisserie attachment to your shotgun smoker to slowly rotate the food during cooking.
- This ensures even smoking and a beautifully uniform crust.
5. Layering Flavors
- Combine different wood chips for complex flavor profiles. For instance:
- Hickory + Applewood: Balanced and slightly sweet for pork.
- Mesquite + Cherrywood: Bold and fruity for beef.
- Add fresh herbs or citrus zest directly to the wood chips for an extra aromatic touch.
Creative Recipes to Try
1. Smoked Salmon
- Ingredients:
- 2 lbs salmon fillet.
- Marinade: Soy sauce, brown sugar, garlic, and lemon juice.
- Instructions:
- Marinate the salmon for 4–6 hours in the refrigerator.
- Preheat the smoker to 175°F with alder wood chips.
- Smoke for 2–3 hours until the salmon flakes easily with a fork.
2. Smoked Pulled Pork
- Ingredients:
- 5–7 lb pork shoulder.
- Rub: Paprika, garlic powder, onion powder, brown sugar, salt, pepper.
- Instructions:
- Rub the pork generously with the spice mix and refrigerate overnight.
- Smoke at 250°F using hickory wood for 10–12 hours, wrapping in foil after the first 6 hours.
- Pull the pork apart with forks and mix with your favorite barbecue sauce.
3. Smoked Stuffed Peppers
- Ingredients:
- Bell peppers.
- Filling: Ground beef, rice, diced tomatoes, cheese, and spices.
- Instructions:
- Hollow out the peppers and fill them with the prepared stuffing.
- Smoke at 225°F for 1.5–2 hours using cherrywood chips.
- Top with shredded cheese during the last 10 minutes.
4. Smoked Chocolate
- Ingredients:
- Dark chocolate bars.
- Instructions:
- Place the chocolate on a tray and cold smoke at 80–90°F for 1–2 hours using mild woods like applewood.
- Use the smoked chocolate in desserts like brownies or s’mores for a unique twist.
Troubleshooting Uncommon Issues
1. Overly Smoky Flavor
- Problem: The food tastes bitter or overly smoky.
- Solution:
- Avoid overloading wood chips; start with a small amount and add more as needed.
- Ensure the wood is dry and free of chemicals or bark.
- Maintain proper airflow to prevent stagnant smoke.
2. Dry or Tough Meat
- Problem: The meat turns out dry or chewy.
- Solution:
- Use a water pan to add humidity during the smoking process.
- Wrap the meat in foil or butcher paper during the final cooking stages to lock in moisture.
- Smoke at lower temperatures for longer periods for tender results.
3. Uneven Smoke Ring
- Problem: The smoke ring isn’t consistent across the meat.
- Solution:
- Start with meat that is cold or room temperature to encourage a deeper smoke ring.
- Use wood chips that produce consistent smoke, such as oak or hickory.
Top Tips for Mastering the Art of Smoking
- Keep a Smoking Journal: Record the temperature, cooking times, wood types, and results of each session to refine your technique.
- Experiment with Marinades and Rubs: Don’t be afraid to try bold flavors like chili lime, honey mustard, or coffee-based rubs.
- Rest the Meat: Allow smoked meats to rest for 10–30 minutes after cooking. This redistributes juices and enhances flavor.
- Invest in a Good Thermometer: Digital meat thermometers ensure accurate temperature readings, critical for perfect results.
FAQs
Here are answers to 10 frequently asked questions about shotgun smokers:
- What’s the best wood for smoking?
- Hickory, mesquite, and oak are great for strong flavors; apple, cherry, and pecan work well for milder, sweeter tastes.
- How do I control the temperature in my smoker?
- Adjust the air intake and exhaust vents to regulate airflow. Less airflow reduces heat; more airflow increases it.
- Can I smoke vegetables in a shotgun smoker?
- Absolutely! Vegetables like bell peppers, zucchini, and mushrooms smoke beautifully at lower temperatures.
- How often should I clean my smoker?
- Clean the grates and remove ash after every use. Deep clean the smoker every few months to prevent buildup.
- What’s the ideal temperature for smoking?
- Most recipes require 225–250°F, but cold smoking is done below 90°F.
- Can I use my shotgun smoker in winter?
- Yes, but insulate the smoker and monitor temperatures closely as cold weather can cause heat fluctuations.
- What cuts of meat work best for smoking?
- Brisket, pork shoulder, ribs, and whole chickens are classic choices.
- How do I avoid flare-ups?
- Keep fat drippings from falling directly onto the heat source by using a drip pan.
- What’s the difference between hot and cold smoking?
- Hot smoking cooks the food while infusing smoke flavor. Cold smoking only imparts flavor without cooking.
- Can I use my shotgun smoker indoors?
- No. Always use smokers in well-ventilated outdoor spaces to avoid fire hazards and carbon monoxide poisoning.
